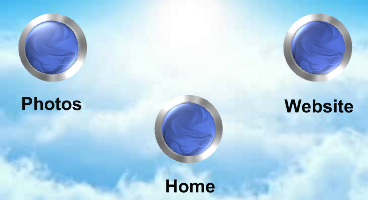
1. Make some buttons and use for active some events, switch slide or link to another place is a important function. So, we must be learn this function. First, we created 3 buttons. We can make different hyperlink or event for these buttons.
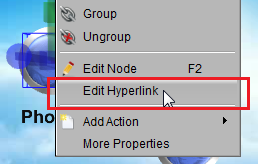
2. Right-click on a button, and select “Edit Hyperlink”.
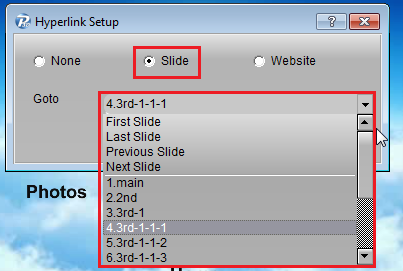
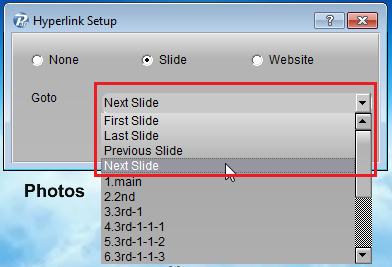
3. We can get a “Hyperlink Setup” dialog. Select “Slide” on the dialog, we can make this button click to go to any slide in this presentation, or we can make this button click to go to first, last, previous or next slide.
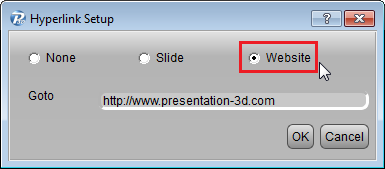
4. When we select ”website”, we can fill in any URL in the text-box.
5. When we set links on the button, move the cursor on the button, the cursor will change to a hand. You can click it at now.
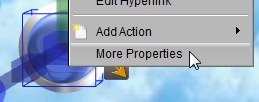
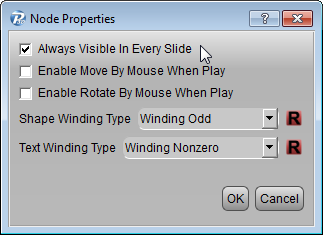
6. If you want your button always display in every slide, you can right click on the button and select “More Properties”. On the “Node Properties” dialog, just select “Always Visible in Every Slide”. Use this function, you can make the navigation by yourself.
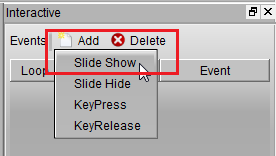
7. The second way, we can add a hyperlink action in the actions list. First, we need add a “Slide Show” event.
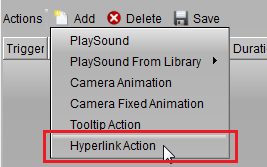
8. Next, we can add a “Hyperlink Action” under this event. In the same “Hyperlink Setup” dialog, we can make this action to go to any slide or website page.
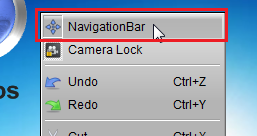
9. The third way, if you want display a default navigation bar on the bottom-left. You can right-click on the rendering window, and active the “NavigationBar”. Then, you can see a default navigation bat on the bottom-left. You can use it to go to previous slide, next slide or home slide.
Contact us: support@presentation-3d.com Product: Aurora 3D Presentation
