1. Aurora 3D Presentation can import 3D Model, change the color, texture, size and make some interactive animation for it. You can learn how to import and change the color and texture in this guide.
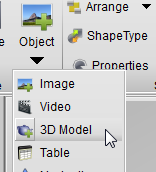
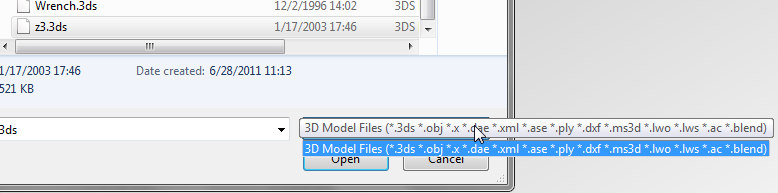
First, Click “Object” button and select “3D Model” on the top toolbar. Then you can choose “3ds, obj, dae, dxf, ms3d, blend, etc,.” 3d format and import it. (PS: 3DS and OBJ format are better for our software)
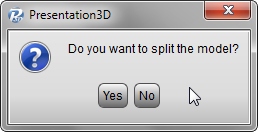
2. When we select and import our 3d model, we will get a dialog said: Do you want to split the model. If you want change the model, select YES.
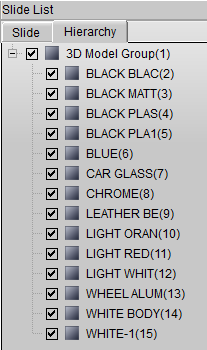
3. If split the 3d model, we can select every parts of the model in the “Hierarchy” list. That’s easy for us.
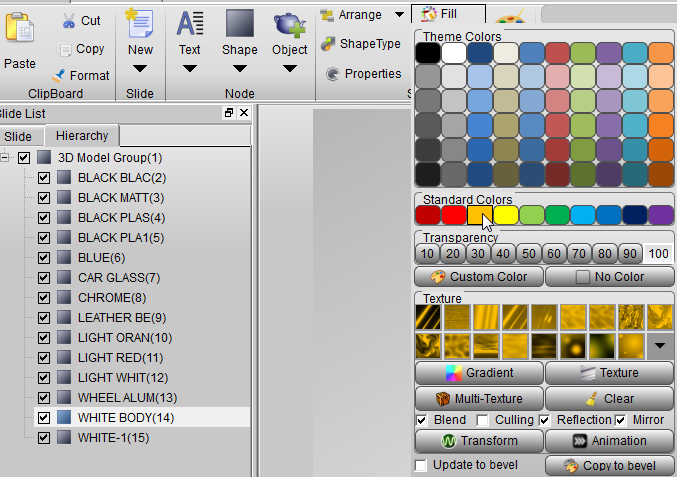
4. If we want to change a part color, we can select it and click fill button on the top toolbar. For example, we select “WHITE BODY”, and change the color to orange, select a texture and check reflection and mirror texture effect.
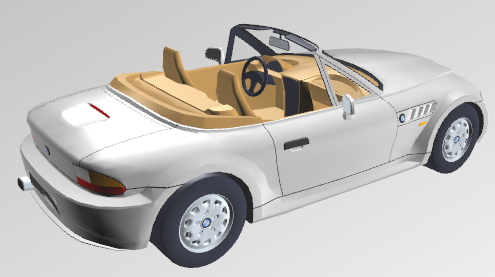
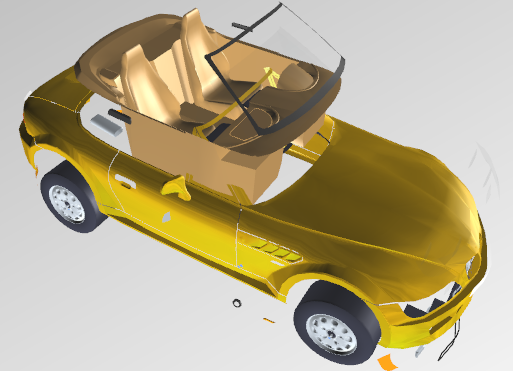
5. Look, we can get this effect for my car model.
6. We also can select the parts of the model and move them, like this picture, that’s easy to use.

Aurora 3D Presentation / Aurora3D Software https://www.presentation-3d.com/