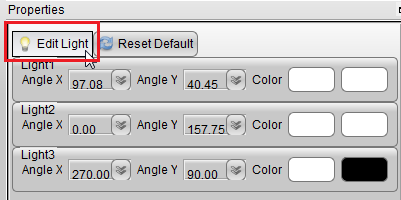
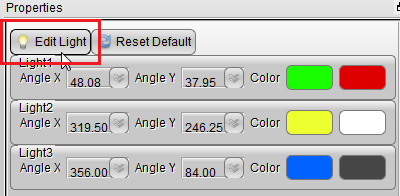
1. In our software, we preset three light, and we can adjust they color, position, direction and so on. Select “Color” tab and we can see the Light Properties, then click “Edit Light” button.
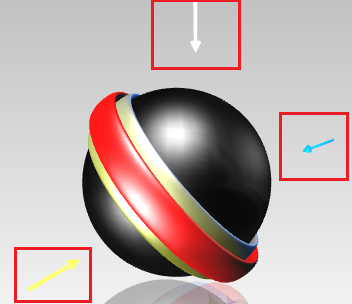
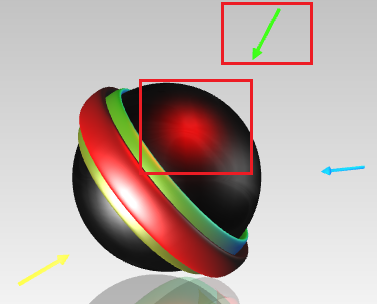
2. When we click “Edit Light” button, we’ll enter the “Edit Pattern”. We can looked three light arrow in the rendering window. We can drag them to move and rotate.
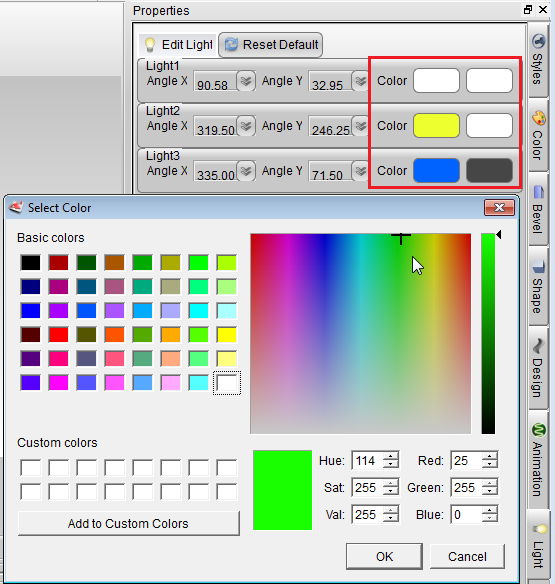
3. If we want change the light color, click color button and the left one is light-color, the right one is highlight-color.
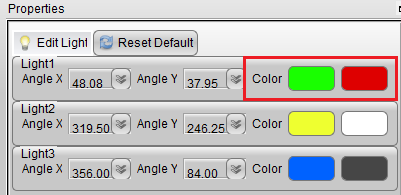
4. In this project, we set the light color to green, and set the highlight color to red.
5. Then, we can got this effect, the light arrow color change to green, and the color of the light point on the ball change to red.
6. When we finished color edit, muse be close “Edit Pattern”, because if we open the “Edit Pattern”, we can change the object properties and make animation.
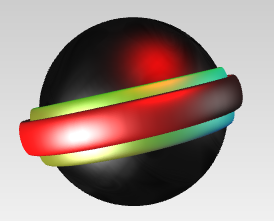
7. At the last, we got this effect. Have fun.
Product: Aurora 3D Animation Maker (Aurora3DAnimation) | Aurora 3D Text & Logo Maker (Aurora3DMaker)
Email: support@presentation-3d.com
